Installing ScannerBox Continued
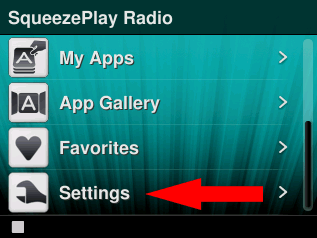
7. From the Home menu on the Squeezebox™ Radio select the "Settings" menu option.
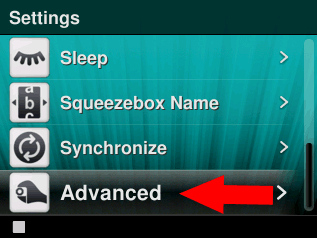
8. Next, select the "Advanced" menu option.
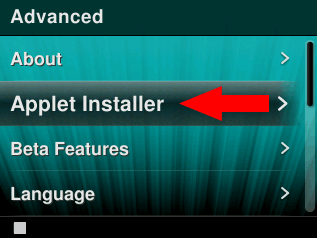
9. Then select the "Applet Installer" menu option.
(If the "Applet Installer" item is missing you need to be connected to the Logitech Media Server and not mysqueezebox.com. Normally selecting the "My Music" menu option from the Home screen will allow it to connect to the Logitech Media Server. If it still doesn't show up try the alternative method of getting to the "Applet Installer".)
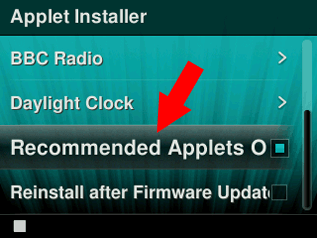
10. Then uncheck the "Recommended Applets Only" option.
(If this option is checked ScannerBox will not be listed)
11. Select the "ScannerBox" menu option. If ScannerBox isn't listed as an application please verify that you entered the correct URL on the Logitech Media Server.
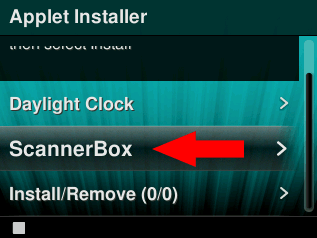
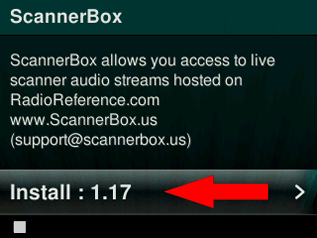
12. Select the "Install" menu option.
(The version number will be listed next to the install option.)
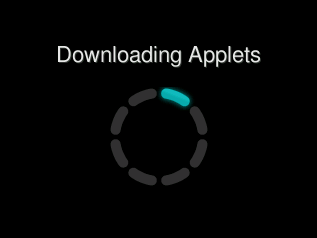
13. The Squeezebox™ Radio should now download and install ScannerBox. After installing it will automatically reboot the radio.
14. Once the radio starts ScannerBox should now be listed on the Home screen. Installation of ScannerBox is complete.
If you have trouble getting ScannerBox installed please contact support@scannerbox.us